Photograph Card Collection: Better Shots for Records
July 9, 2026 · 5 min read · By BGLAD
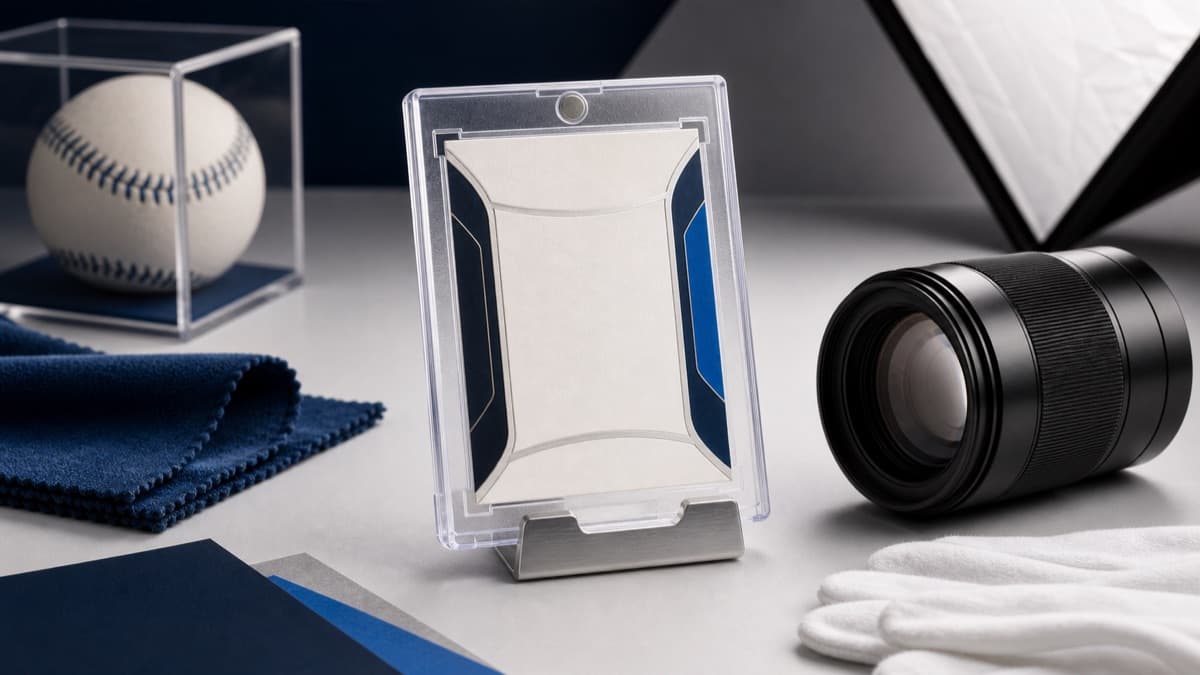
To photograph card collection pieces properly, use soft light, control glare, shoot both documentation and presentation angles, and store the files so each image can be matched to the item later. Good photos help with insurance, selling, grading decisions, condition checks, and simple collection memory.
The goal is not to make every card look dramatic. The goal is to make the item easy to identify and honest to inspect, whether it is a slabbed rookie, a raw vintage card, a signed ball, a ticket, or a jersey.
Lighting for card collection photos without glare
Most bad card photos are lighting problems. Direct overhead light creates shine, phone flash creates harsh reflection, and bright windows can wash out the card while leaving glare across the holder. Soft, angled light is usually better than more light.
A simple setup works: a clean table, a neutral background, one or two diffused lamps, and the phone held steady. Move the light, not the card, until the foil, gloss, and slab surface stop throwing glare straight into the camera. If the photo looks flat but accurate, that is better than a dramatic shot that hides condition.
For display planning, photos also show how a piece changes over time. Pair clear images with the storage habits in our collection protection guide, especially for cards that move between boxes, stands, and showcases.
Slab photography tricks for labels and surfaces
Slabs are easy to identify but hard to photograph because the plastic reflects everything around it. Tilt the slab slightly, then square the camera to the face as much as possible. A small angle can move glare off the card without making the borders look distorted.
Clean the outside of the holder before shooting, but do not overdo it. Dust, fingerprints, and lint on the slab can look like card defects. Use gentle cleaning on the holder only, keep liquids away from raw cards, and never open a slab just to get a cleaner photo.
If you are documenting graded slabs, include one straight-on photo of the full slab, one label close-up, and one image that shows the card surface under angled light. Those three shots answer different questions.
- Use a matte background: black, gray, or white paper reduces reflections and makes edges easier to see.
- Turn off mixed lights: window light plus warm bulbs can make colors look strange.
- Step back slightly: digital zoom and ultra-close phone angles can bend borders and labels.
- Shoot labels separately: certification numbers should be readable without enlarging a blurry full-card image.
Documentation shots vs listing shots
A documentation shot proves what the item is. A listing shot helps another collector decide whether to buy it. They overlap, but they are not identical. Documentation favors completeness: front, back, label, cert number, serial number, autograph, certificate, and known defects. Listing shots favor clarity: accurate color, readable surfaces, and no hidden corners.
For raw cards, include the front and back outside the team bag or binder page when it is safe to do so. For slabs, include the holder edges if chips or scratches are visible. For memorabilia, shoot the full item, authentication sticker, certificate, signature, manufacturer tags, and any wear that affects value.
If you are preparing to sell, study how trustworthy images look in our selling sports cards guide. If you are preparing for a claim, the same files should support collection insurance.
File organization for card and memorabilia photos
The best photo is not much help if you cannot find it. Use a naming system that makes sense without opening the file. A folder by sport, player, year, set, or storage box can work, but consistency matters more than the exact structure.
For higher-value items, keep the photo name close to the inventory record. If the spreadsheet row has a cert number or item ID, use that same ID in the photo filename. When a card changes holders, gets regraded, sells, or moves to a different box, update the record instead of letting old files drift.
We prefer simple names over clever names: year, player, set, card number, grade, cert, and front or back. Our guide to tracking your collection digitally explains how those fields can line up with spreadsheets or collection apps.
- Keep originals: edit copies for listings, but preserve unedited documentation images.
- Use front and back labels: add front, back, label, coa, receipt, or detail to the filename.
- Separate sold items: keep sold records in their own folder so old images do not confuse current inventory.
- Back up off-device: phone-only photo storage is too fragile for serious collection records.
Common questions about photographing cards
Should you scan cards instead of photographing them? Scans can be useful for raw cards, but they may flatten gloss, miss surface texture, and create odd results through slabs. Photos are usually better for holders, autographs, and memorabilia.
Is a phone camera good enough? For most collection records, yes. Good lighting, a steady hand, clean focus, and organized files matter more than owning a dedicated camera.
Should listing photos hide scratches on the slab? No. Show the card clearly and disclose holder issues when they affect the buyer's experience. Trustworthy photos save time and reduce disputes.
Ready to hunt?
Graded slabs, sealed boxes, and live auctions — verified and insured.